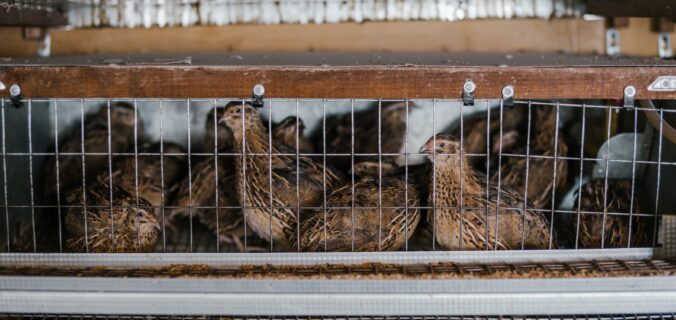
If you’re raising quail for meat, it’s important to know how to properly process them in order to get the most out of your harvest. In this blog post, I’ll be sharing my personal step-by-step guide to processing quail for meat.
Before we dive into the process, it’s important to note that butchering quail can be a messy and somewhat daunting task, especially if you’ve never done it before. However, with a little bit of practice and some patience, it’s a skill that can be mastered.
Step 1: Gather your tools and materials
Before you start, make sure you have all the necessary tools and materials. You’ll need a sharp knife, a cutting board, a bowl or bucket for waste, and a container for the cleaned quail. You may also want to have gloves and an apron to protect your clothing. I detailed a DIY Processing Restraining Cone to assist in this process.
Step 2: Kill the quail
The first step in processing quail is to kill them quickly and humanely. The most common method is to use a sharp knife or scissors to sever the neck, cutting through the spine and spinal cord. Make sure to hold the bird securely and aim for a quick and clean cut.
Step 3: Remove the feathers
Once the quail is dead, it’s time to remove the feathers. The easiest method is to scald the bird in hot water for about 30 seconds, which will help loosen the feathers. You can then pluck the feathers by hand, starting at the neck and working your way down the body. Make sure to remove all the feathers, including any pinfeathers, which can be tricky to remove.
Step 4: Remove the head and feet
Next, it’s time to remove the head and feet. You can do this by using a sharp knife to cut through the skin and tendons around the joint, and then twisting and pulling the feet and head until they come loose. You can discard these parts or use them to make stock or broth.
Step 5: Gut the quail
Now it’s time to gut the quail. Use your knife to make a small incision at the base of the breastbone, and then carefully cut through the skin and muscle to expose the internal organs. Use your fingers to carefully remove the organs, including the heart, lungs, liver, and intestines. Make sure to remove everything, as any remaining bits can affect the taste and quality of the meat.
Step 6: Rinse and clean the quail
Once the quail is gutted, rinse it thoroughly under cold running water to remove any blood or debris. You can also use a clean cloth to wipe down the exterior of the bird.
Step 7: Chill the quail
After cleaning, it’s important to chill the quail as soon as possible to prevent spoilage. You can do this by placing the quail in a container or bag and placing it in the refrigerator or a cooler with ice.
Step 8: Store or cook the quail
Once the quail is chilled, you can either store it in the refrigerator for up to 3-4 days or freeze it for later use. If you’re cooking the quail right away, there are a variety of delicious recipes and preparations to choose from, including grilling, roasting, frying, and stewing.
In conclusion, processing quail for meat may seem intimidating at first, but with the right tools, techniques, and a bit of practice, it can be a rewarding and satisfying process. By following these simple steps, you can ensure that your quail meat is fresh, clean, and ready to be used in a variety of delicious recipes. Happy butchering!
