If you’ve ever dreamed of hatching your own adorable quail chicks and watching them grow, you’re in for a treat. In this blog post, I’m excited to share a comprehensive guide to incubating quail eggs – from selecting the right equipment to caring for your hatchlings. So, let’s dive in and hatch some happiness together!
1. Selecting the Right Equipment:
The first step in incubating quail eggs is to gather the necessary equipment. Here’s what you’ll need:
An Incubator: Choose a reliable incubator designed specifically for quail eggs. Look for models with adjustable temperature and humidity settings for optimal hatch rates.
Thermometer and Hygrometer: Accurate temperature and humidity monitoring are crucial for successful egg incubation. Invest in a quality thermometer and hygrometer to ensure your incubator maintains the ideal conditions.
Egg Turner: Quail eggs require regular turning to prevent the embryos from sticking to the shell membrane. An automatic egg turner takes the hassle out of manual turning and ensures consistent rotation.
Candle or Egg Candler: Candling is the process of shining a light through the egg to monitor embryo development. A dedicated egg candler allows you to check the progress of your quail eggs throughout the incubation period.
2. Preparing the Incubator:
Before placing your quail eggs in the incubator, it’s essential to prepare the incubator and establish the proper conditions for successful hatching:
Temperature: Quail eggs require a consistent temperature of around 99.5°F (37.5°C) for optimal development. Use your thermometer to adjust the temperature settings on your incubator accordingly.
Humidity: Maintain a humidity level of around 50-60% for the first 14 days of incubation, then increase it to 70-80% during the final days before hatching. This helps prevent the eggs from drying out and facilitates proper chick development.
Ventilation: Proper ventilation is essential for supplying fresh oxygen to the developing embryos and removing excess carbon dioxide. Ensure your incubator has adequate ventilation ports or openings to maintain airflow.
3. Selecting and Handling Quail Eggs:
When selecting quail eggs for incubation, choose fresh, clean eggs from healthy, disease-free birds. Avoid eggs with cracks, deformities, or abnormalities, as they may not hatch successfully.
Handle the eggs with care to avoid damaging the delicate shell or disrupting the developing embryo. Wash your hands thoroughly before handling the eggs to prevent the transfer of bacteria or contaminants.
4. Incubating the Eggs:
Once you’ve prepared your incubator and selected your quail eggs, it’s time to begin the incubation process:
Placement: Arrange the quail eggs in the incubator with the pointed ends facing downward in the egg trays or racks. This helps prevent the embryos from becoming mispositioned during incubation.
Turning: Quail eggs should be turned regularly to ensure uniform development and prevent the embryos from sticking to the shell membrane. If you’re using an automatic egg turner, program it to turn the eggs several times a day. If not, manually turn the eggs at least three times a day by gently rotating them 90 degrees.
Candling: After 7-10 days of incubation, use your egg candler to check the progress of the embryos. Candling allows you to observe the development of blood vessels, air sacs, and the embryo itself. Remove any eggs that appear clear or show signs of early development failure.
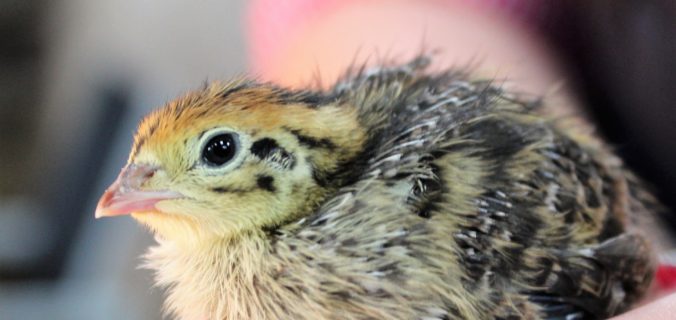
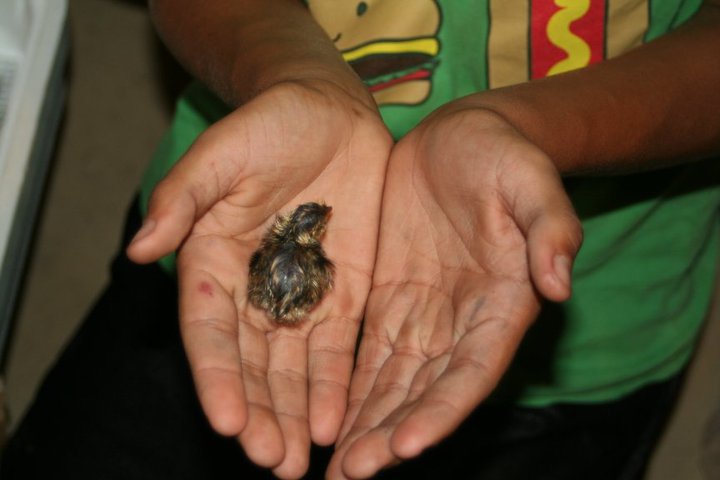
5. Caring for Hatchlings:
As the incubation period draws to a close, prepare a brooder to welcome your quail chicks into their new environment:
Brooder Setup: Provide a warm, draft-free environment for the newly hatched chicks. A brooder lamp or heating pad can help maintain the ideal temperature of around 95°F (35°C) for the first week, gradually decreasing by 5°F (2.8°C) each week until the chicks are fully feathered.
Bedding: Use clean, dry bedding material such as pine shavings or paper towels to line the bottom of the brooder. Avoid using newspaper or slick surfaces, as they can cause leg problems in young quail chicks.
Water and Feed: Offer fresh, clean water and starter feed formulated specifically for quail chicks. Provide small dishes or chick waterers and feeders to ensure easy access for the chicks.
Observation and Care: Monitor the health and behavior of your quail chicks closely during the first few days of life. Watch for signs of weakness, dehydration, or illness, and provide prompt attention and care as needed.
Conclusion:
Incubating quail eggs is a rewarding and exciting experience that allows you to witness the miracle of life firsthand. By selecting the right equipment, preparing the incubator, handling the eggs with care, and providing proper care for the hatchlings, you can increase your chances of successfully hatching healthy quail chicks.
So, whether you’re a seasoned quail enthusiast or a curious beginner, why not give egg incubation a try? With a little patience, dedication, and tender loving care, you’ll soon be hatching happiness and welcoming a new generation of quail into the world. Happy hatching!